To make your video more interesting, apply AI video masking when editing it. Masking sounds like a high-level video editing expertise. This sophisticated functionality allows you to make modifications just to certain or blocked areas. Assume you want to blur the background; video masking makes this simple. That is quite a ninja trick in video editing, and we will show you all you need to know about video masking. In this article, we will provide you with a step-by-step guide on how to use an AI video masking tool.
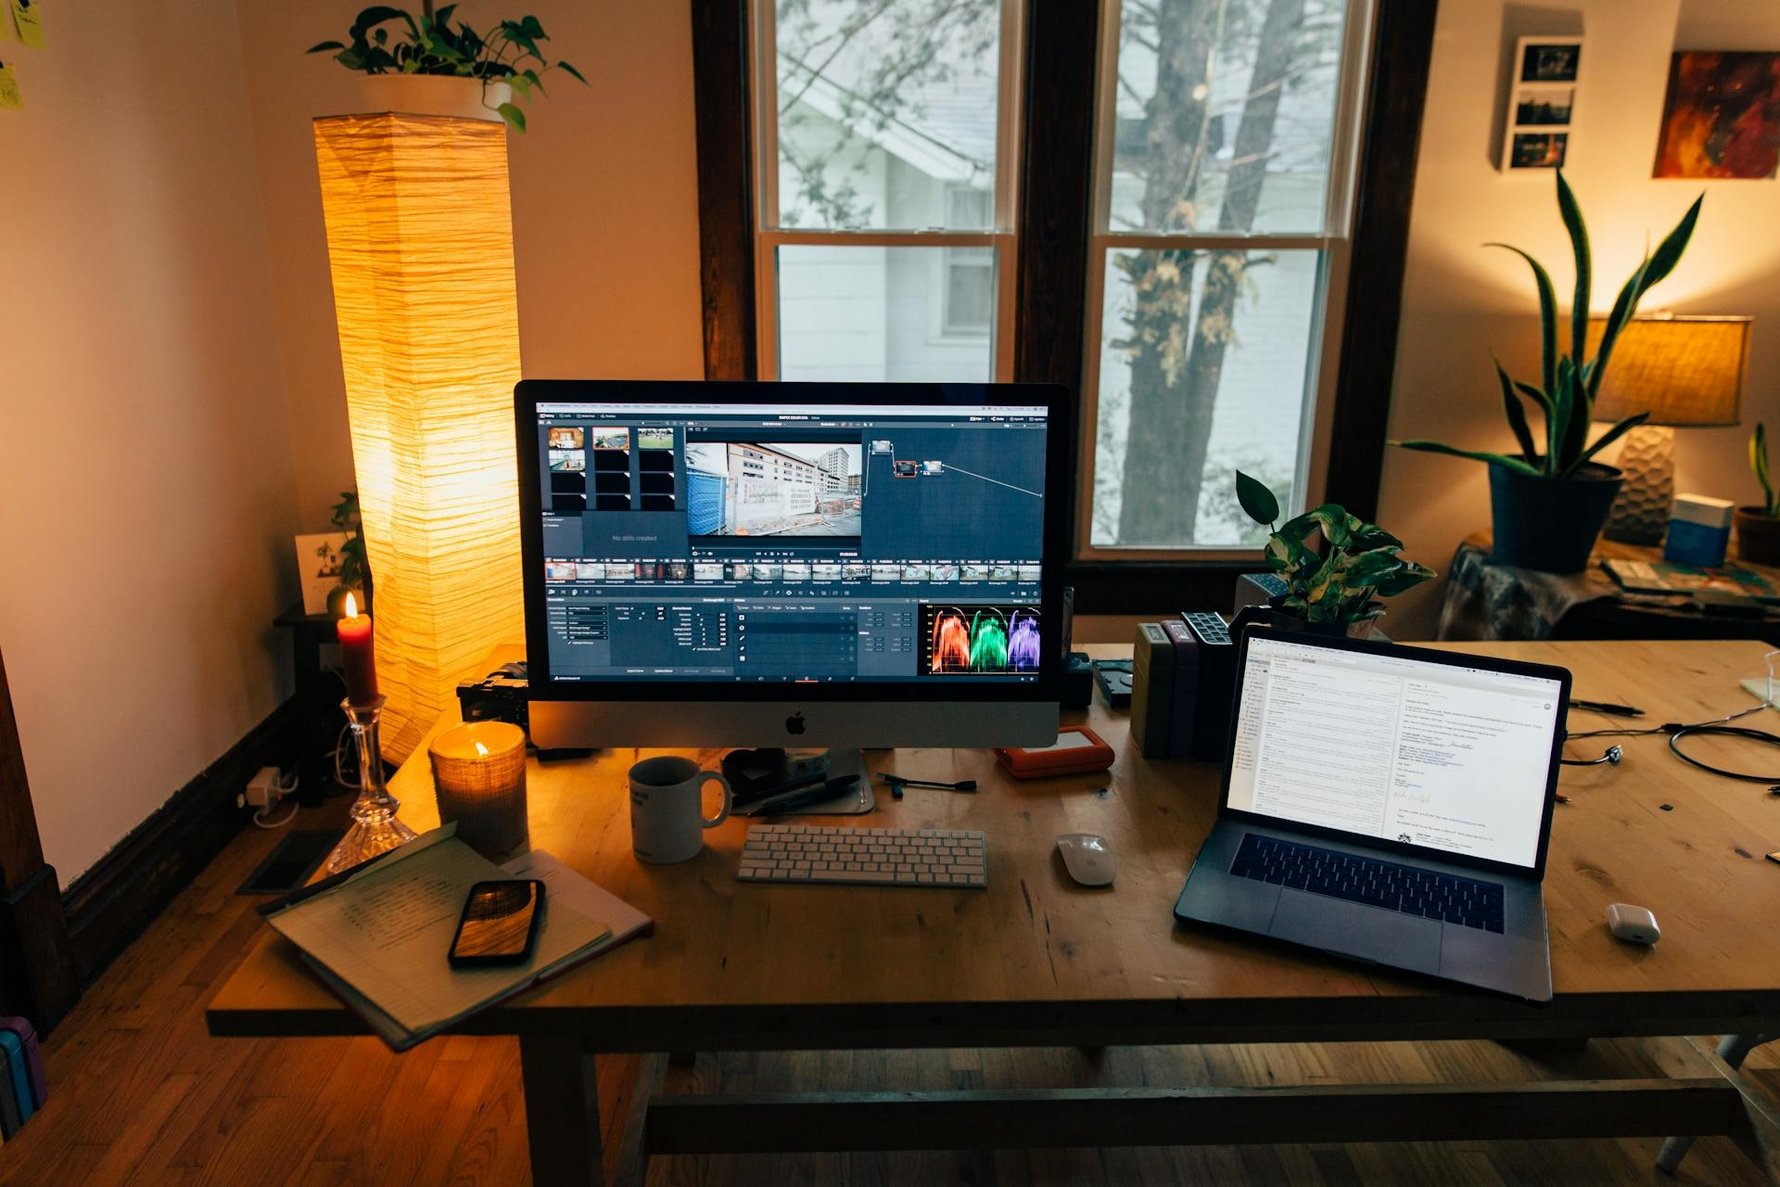
Part 1: What is AI Video Masking?
AI video masking is an editing process that uses AI algorithms to analyze video frames and recognize things. This feature enables you to choose one particular area of a video, either using a template or a custom frame, and then hide, duplicate, reveal, or adjust that clip while editing the rest of the image. AI video masking may be used to achieve a range of effects, including anonymizing persons in a crowd and adding additional effects to a dancer's motions.One of the most significant advances is AI video masking, which allows you to rapidly pick a section of a video to conceal, show, copy, or change. Manually doing this can take a long time and frequently necessitates video editing skills. AI video masking enables you to do this with a few clicks, making your video even more appealing to your viewers.
Part 2: What are the Different Types of Masking?
Each type of video mask has a particular common use. Understanding each sort of mask can help you decide which one to apply in your video edits to fix footage, add creative effects, and elevate your video production to new heights. There are several forms of video masking that you might use in your video.Clipping Mask
A clipping mask creates a window through which a viewer can see only a portion of your video. This style of mask may be thought of as a cut-out and is commonly utilized in this manner. With a clipping mask, you often choose an attractive shape or shapes that allow your audience to peep at your video while creating an opaque or even fuzzy layer to block out the remainder.
Text Mask
Text masks are frequently generated using video masking tools. A text mask is essentially the reverse of adding opaque screen titles to your video. Instead, they are usually clipping masks using the form of text as the mask. Many people construct an opaque mask and then clip off bold/thick text to allow the audience to see only the letters in the video. This allows the spectator to read a title while simultaneously focusing on the moving footage inside it.
Chroma-keying
This mask includes using a specific color, usually green or blue, as the video background. It is great for simple video masking or uniform shapes like screens, walls, and sky. Chroma-keying allows users to remove the video backdrop and replace it with a different picture or video. However, issues may develop if the backdrop color is inconsistent or matches the color of the item or region to be kept.
Mirror Masking
A mirror mask can be used to change the video's size, location, rotation, and feathering. You may make a mirrored flip video or photo.
Circle and Rectangular Mask
A circle mask is commonly used to generate visual effects using circles such as displaying videos or images as circles.
When creating certain videos or images on screen segmentation, picture-in-picture, etc., such as split-shot effects in films or picture-in-picture effects in broadcasts, etc., a rectangular mask is utilized.
Part 3: Perform Easy Masking with Wondershare Filmora AI Video Masking
Wondershare Filmora is a video editing software. It is designed to make content production easier for anybody who utilizes it, whether they are an in-house creative or a YouTuber. It works well on its own, but it can also be connected to your workflow like Adobe Creative Cloud and Google Drive.Filmora is suitable for newcomers because of its user-friendly drag-and-drop interface. The program is packed with cutting-edge functionality, such as AI editing tools like AI video masking. This utility includes more than eight distinct masking shapes and tools. In addition, you can import your masking tool from your system to make a decision. After you've masked your topic or object in a video, you may alter or use the blending mode. With Filmora's masking features, you can now easily create something unique.
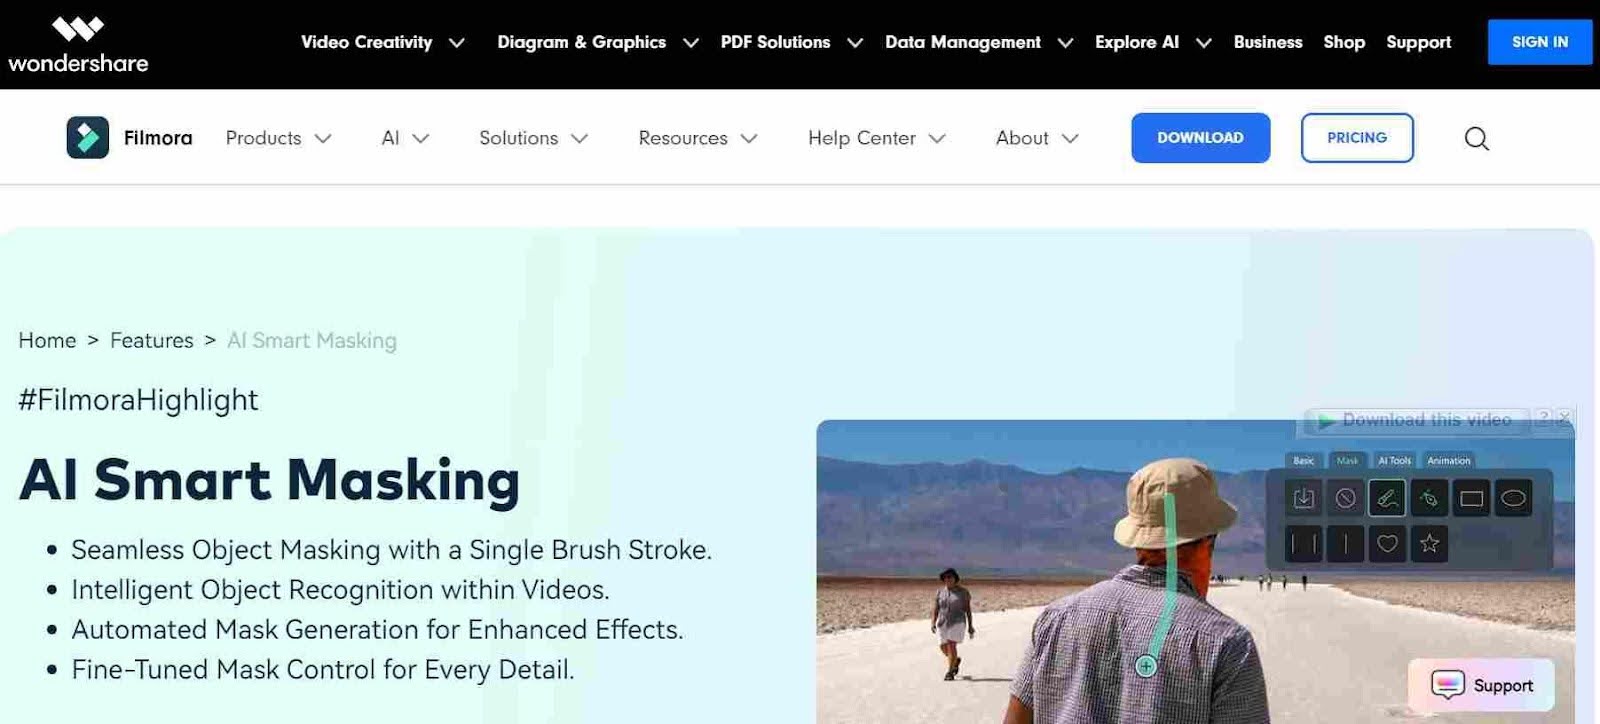
Features of Filmora AI Video Masking
Wondershare Filmora has a lot of features with a video masking tool, some of them are below.Seamless Transitions:
The AI masking tool offers advanced features to enhance your videos. With sophisticated skills, you can create stunning transitions that keep viewers engaged. Smooth transitions between scenes can be achieved automatically by eliminating backdrops and improving visual flow.
Multi-Layer Overlay:
The AI masking tool also enables multi-layer overlay editing. By isolating subjects from their backgrounds, you can create a dynamic composition. This feature allows you to take your videos to the next level.
Freezing Frames:
Another exciting feature of AI masking is frame freezing. With this tool, you can create sophisticated freezing frames that capture the essence of movement. Simply isolate moments in videos to generate appealing stills that are both accurate and stylish.
Color Correction:
Finally, AI masking allows for accurate color correction. You can improve particular portions of your scene by isolating them, altering colors, and applying professional-grade visual effects with precision and efficiency. This feature gives you the power to refine your videos and make them truly stand out.
How To Do AI Video Masking with Filmora?
Learning how to use a tool makes your work much more simple and efficient. Here is the complete step-by-step guide to AI video masking with Wonder Filmora Video Masking.Step 1. Enable AI Mask Option:
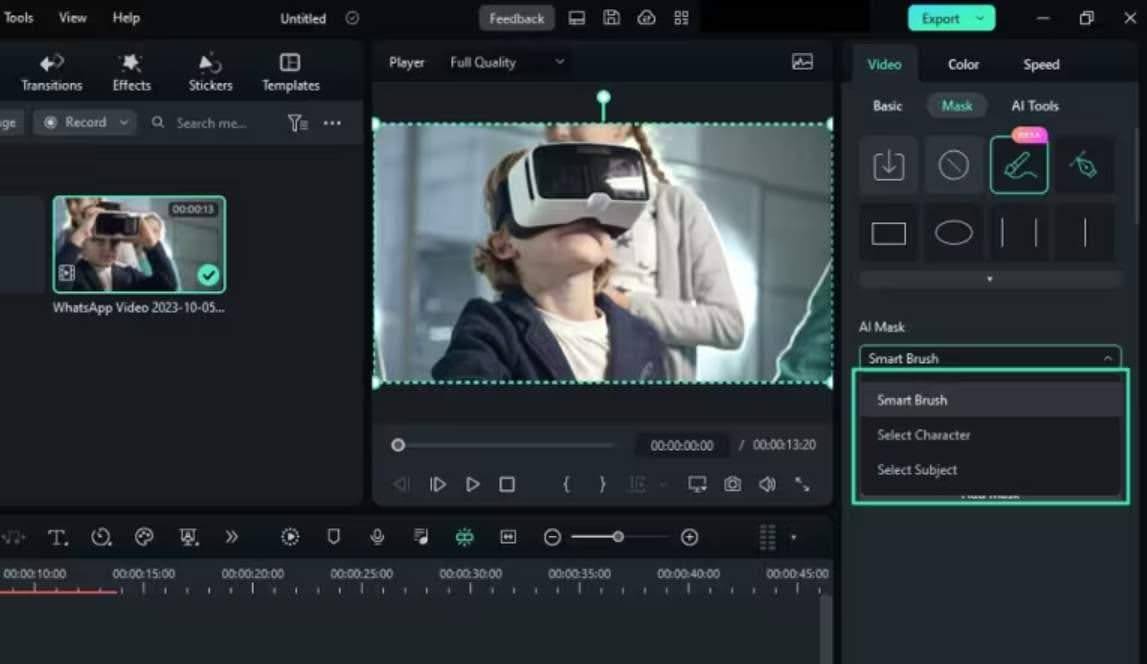
To begin masking, choose your clip from the timeline and hover your cursor over the options window. Under the "Video" tab, click the "Mask" option, then the "AI Mask" icon.
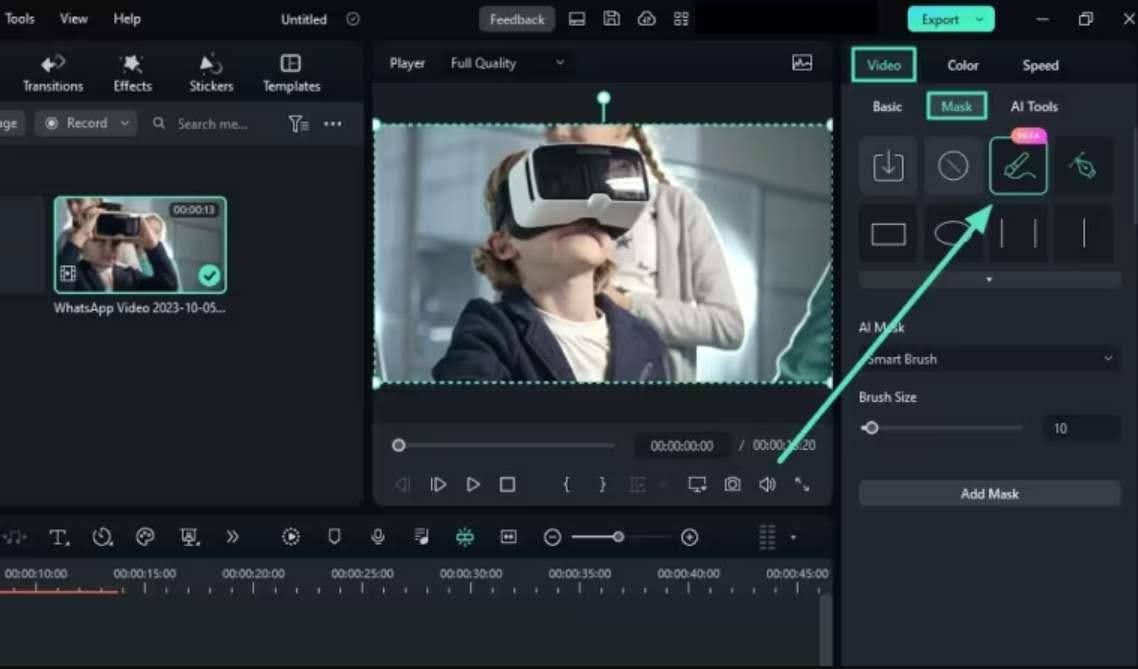
Step 2: Select the AI Mask Option:
You have also other options to pick from, such as "Smart Brush," "Select Character," or "Select Subject". Select more selections from the list and then click the "Add Mask" button.
Step 3: Adjust Relative Settings and Export:
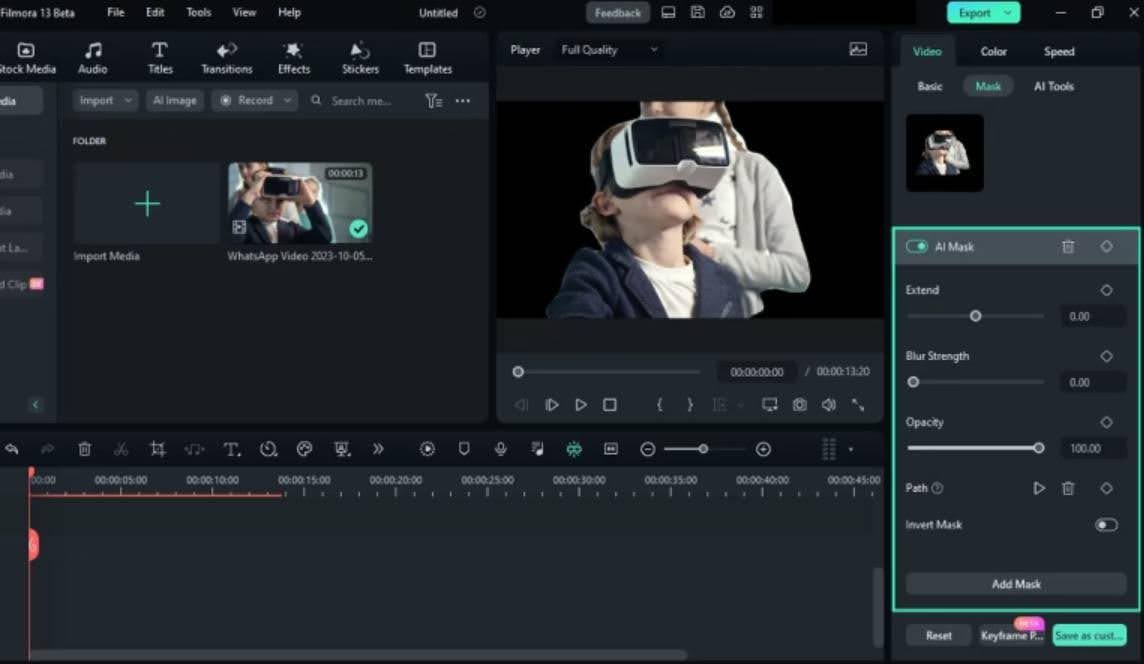
You can customize other mask options like Opacity, etc. And last, click the "Export" button to save the video to your device.


Comments